Grandwork | SKU:
Hammer Hanging Bundle
Hammer Hanging Bundle
Regular price
$ 510.00
Unit price
Unavailable
Shipping calculated at checkout.
Hammer Hanging Bundle is backordered and will ship as soon as it is back in stock.
Delivery and Shipping
Delivery and Shipping
We expect this product to ship in 1–3 business days. See our Shipping Policy for more details. Please contact us before ordering if you require expedited processing and/or shipping.
Description
Description
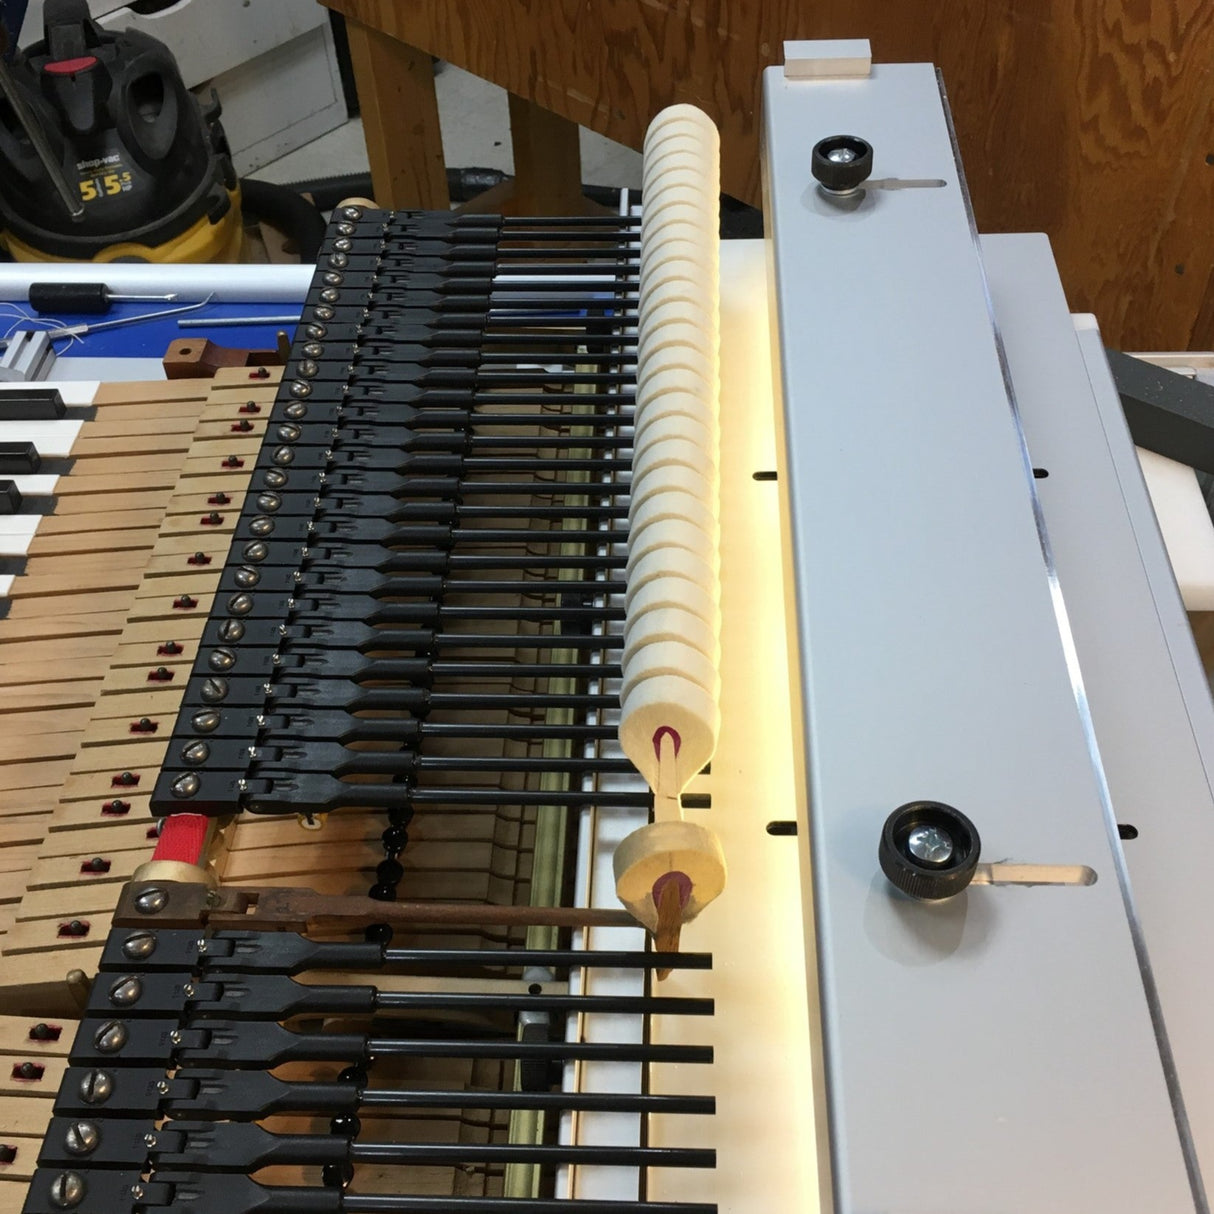
This bundle includes the Hammer Hanging Jig, which fits on the Squaring Platform, the Hammer Square Lite to make sure hammers are vertical as they're hung, and a power splitter and extension cable.
Specifications
Specifications
-
This product is a component of the following Regulation Station versions-
-
This product requires at least one of the following host tool(s)-
-
This product requires at least one of the following accessory tool(s)-
-
This product also requires at least one of the following set of accessory tool(s)-
-
This product can work on your bench, without a Custom Keybed
Payment & Security
Payment methods
Your payment information is processed securely. We do not store credit card details nor have access to your credit card information.


