KS 17: Bedding Setup on the Bench

KS 17: Bedding Setup on the Bench

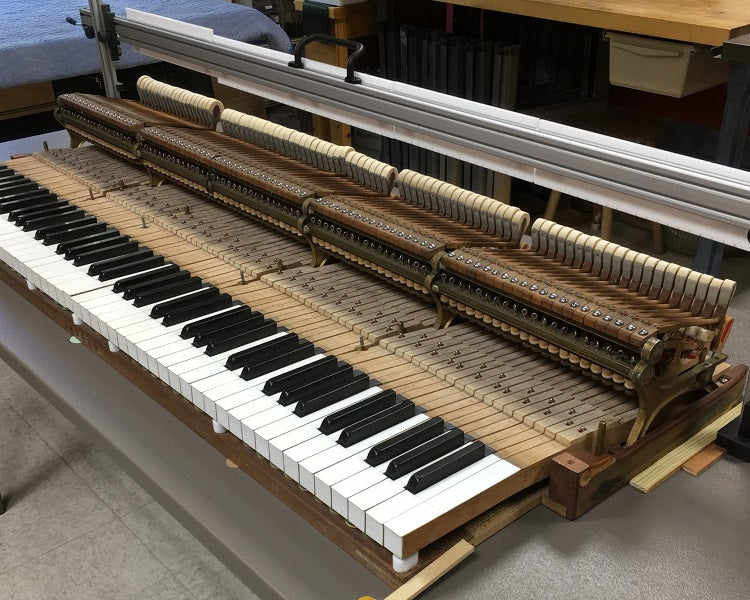
Bedding Setup on the Bench:

Now that the action is positioned on the bench, shim the backrail to be stable. Do this with front punchings, placed every twelve to fourteen inches. These will support backrail and frontrail the way glidebolts support the balancerail. Share the weight evenly between these points of contact. And when done, draw placement markings on rail, punchings, and bench so that if the keyframe is moved, when it is returned, the shims can be placed back in their original locations.

Continue reading
KS 16: Fixing Action Position on the Bench

KS 16: Fixing Action Position on the Bench

Fixing Action Position on the Bench:

Set up the action on a flat, stable surface. This will never be the same flat as the keybed, so don't worry about small imperfections. As long as the surface is hard, more or less flat, and stable, these sampling and setup techniques will provide an on-bench replica of the in-piano bedding and strike so work will fit in the piano.

Continue reading